
How to use Adobe Fonts on Squarespace 7.1
Did you know if you have a subscription to Adobe Fonts, you can use any of the fonts on your Squarespace 7.1 website?
Squarespace has a lot of great built-in fonts, but sometimes you find just the right font and it’s not included on Squarespace. You can easily add any Adobe font to your Squarespace website using a little bit of simple CSS.
I’ll walk you through the steps below:
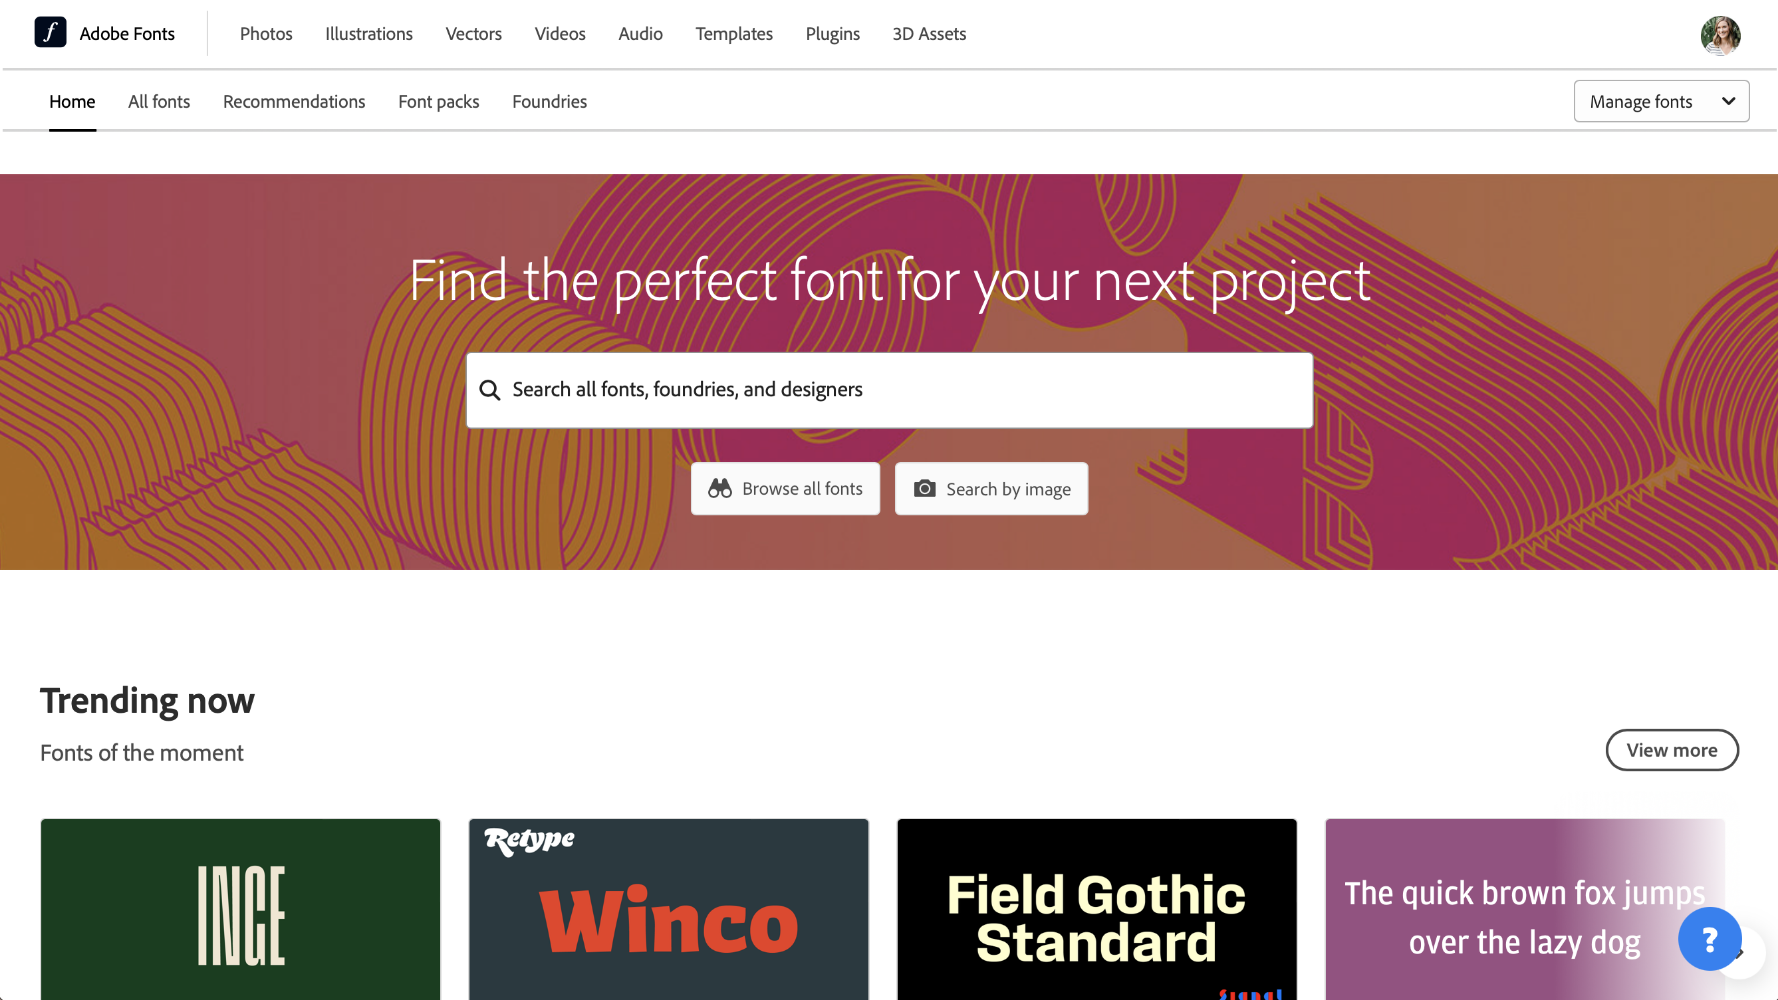
1. Search for your font on Adobe Fonts
Using your Creative Cloud username and password, sign into your Adobe Fonts account. Search for the font you’d like to add to your Squarespace website.
2. Add your font to New or Existing Web Project
In the upper right corner, you’ll see the option that says </> Add to Web Project. Click the text and a pop-up box will appear.

3. Follow the prompts in the pop-up box
Enter a new project name or select from your existing projects. Then, select the fonts you plan to use on your website. Only choose the fonts you need rather than the entire family, adding extra unnecessary fonts to your site can cause it to run slow. Finish this step by clicking the “Save” or “Create” button. Keep the pop-up box open in Adobe Fonts, you’ll need it for the next couple steps.

4. Copy & paste the code into the <head> tag of your website
Copy the code that is generated and head back to your Squarespace site. Navigate to the Code Injection (Website > Utilities: Website Tools > Code Injection). Or press ‘/’ on your keyboard to search from anywhere. Paste the code you copied from Adobe Fonts into the Header area.


5. Copy the CSS code from Adobe Fonts
The CSS code will be in the bottom of the pop-up box, below the code you copied for the <head> tag in the last step. It should look something like this:
font-family: "quiverleaf-cf", sans-serif;
font-weight: 700;
font-style: normal;
Back in Squarespace, navigate to your Custom CSS (Website > Utilities: Website Tools > Custom CSS) or press ‘/’ on your keyboard to search for custom css.
Next, you’ll need to assign the font to the Headings/Paragraphs you’d like this font to be used for. That will look something like this:
h1 {
font-family: "quiverleaf-cf", sans-serif;
font-weight: 700;
font-style: normal;
}
The h1 will assign the font to Heading 1. Make sure to update the text within the brackets with your own font family CSS.
Use the following code to assign to the different headings and paragraph styles within Squarespace:
Heading 1: h1
Heading 2: h2
Heading 3: h3
Heading 4: h4
Paragraph 1: .sqsrte-large
Paragraph 2: p
Paragraph 3: .sqsrte-small
(Note the . in both paragraph 1 and paragraph 3, that is important to include!)
When you’re finished adding your CSS, be sure to hit ‘Save’ in the top left corner.


6. Style your font
If you want to style your font a little more, here is some more CSS you can play with. These will all go in between the { } brackets. You can add to a new line below the font-family.
h1 {
font-size: 11px;
text-transform: uppercase;
letter-spacing: 1px;
font-weight: 700;
color: red;
Your font preview will update automatically as you change the CSS, so you can play around with it until it looks exactly as you’d like!
And that’s it! That’s how you add Adobe fonts to your Squarespace 7.1 website.
Need some font inspiration for your website?
Check out my Font Pairings Lookbooks to find the perfect fonts for your website. Each Lookbook contains beautiful, curated font pairings and color palettes that will help you create a brand that shines and attracts your dream audience.
